Sign in with Ethereum Web3 Wallet
Introduction
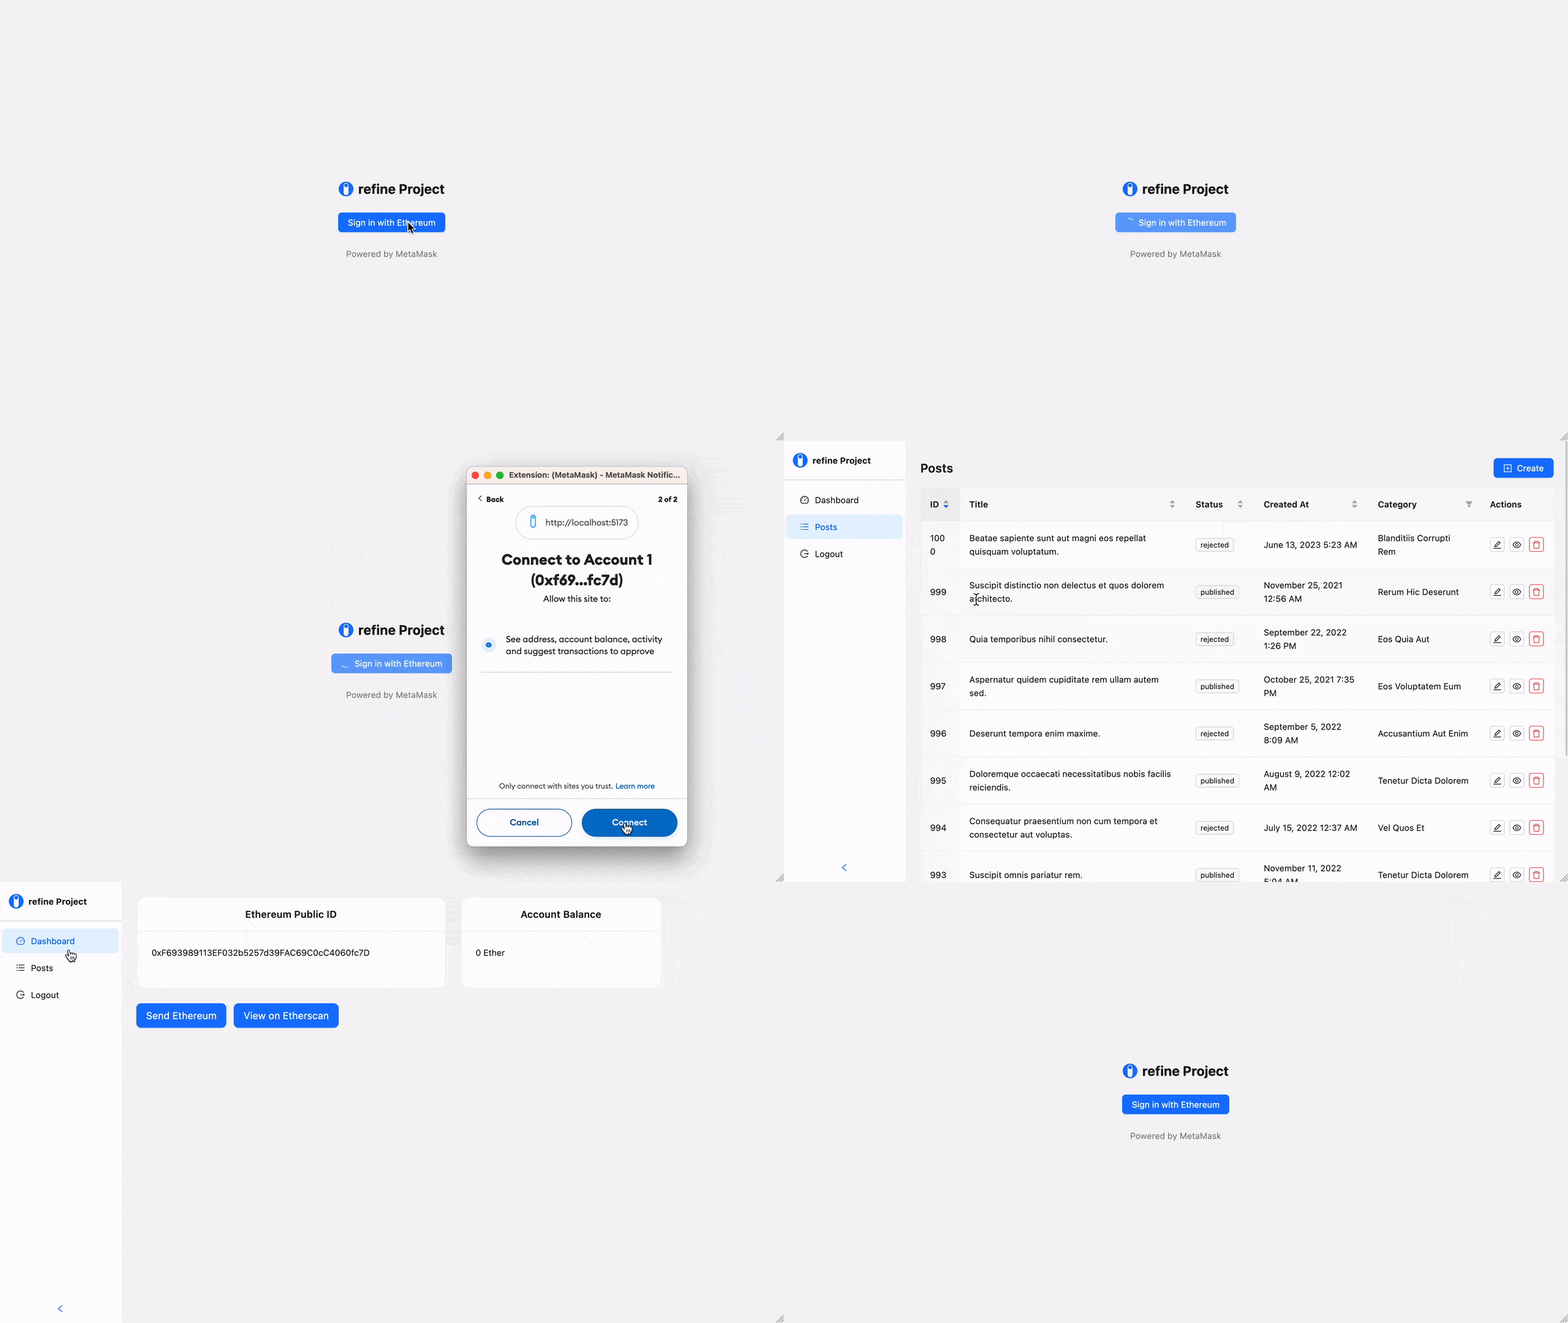
In this guide, you will examine what a web3 wallet is, how to sign in to your wallet, and how to use the popular wallet MetaMask. We will learn to log in to your Metamask wallet using Refine and Web3.
A web3 wallet is a software that allows you to send, receive, or store cryptocurrency securely without the need for a 3rd party. Web3 wallet is your key to accessing your cryptocurrency. If you want to send cryptocurrency or receive it you will need a wallet.
We will show you how to log in to your Metamask wallet with Refine.
Installation
We will need web3 and web3-modal packages in our project. Let's start by downloading these packages.
- npm
- pnpm
- yarn
npm i web3 web3modal
pnpm add web3 web3modal
yarn add web3 web3modal
CAUTION
To make this example more visual, we used the @refinedev/antd package. If you are using Refine headless, you need to provide the components, hooks or helpers imported from the @refinedev/antd package.
Configure Refine Auth provider
First, we need to define a web3modal and create a provider. We can get information about the wallet by connecting this provider that we have created to web3.
NOTE
In this example, we will show the login with Metamask Wallet. If you want, you can connect to other wallets using web3modal's providers.
Show Code
import { AuthProvider } from "@refinedev/core";
import Web3 from "web3";
import Web3Modal from "web3modal";

import { getBalance } from "./utility";

export const TOKEN_KEY = "refine-auth";

const providerOptions = {};
const web3Modal = new Web3Modal({
  cacheProvider: true,
  providerOptions,
});

let provider: any | null = null;

export const authProvider: AuthProvider = {
  login: async () => {
    if (window.ethereum) {
      provider = await web3Modal.connect();
      const web3 = new Web3(provider);
      const accounts = await web3.eth.getAccounts();
      localStorage.setItem(TOKEN_KEY, accounts[0]);
      return {
        success: true,
        redirectTo: "/",
      };
    } else {
      return {
        success: false,
        error: new Error(
          "Not set ethereum wallet or invalid. You need to install Metamask",
        ),
      };
    }
  },
  logout: async () => {
    localStorage.removeItem(TOKEN_KEY);
    if (provider && provider.close) {
      await provider.close;

      provider = null;
      await web3Modal.clearCachedProvider();
    }
    return {
      success: true,
      redirectTo: "/login",
    };
  },
  onError: async (error) => {
    console.error(error);
    return { error };
  },
  check: async () => {
    const token = localStorage.getItem(TOKEN_KEY);
    if (token) {
      return {
        authenticated: true,
      };
    }

    return {
      authenticated: false,
      redirectTo: "/login",
      logout: true,
    };
  },
  getPermissions: async () => null,
  getIdentity: async () => {
    const address = localStorage.getItem(TOKEN_KEY);
    if (!address) {
      return null;
    }

    const balance = await getBalance(address);

    return {
      address,
      balance,
    };
  },
};
We use web3's getBalance() function to find out the ethereum amount of the account logged in.
const web3 = new Web3(window.ethereum);

export const getBalance = async (account: string): Promise<string> => {
  return new Promise((resolve, reject) => {
    web3.eth.getBalance(account, (err: any, result: any) => {
      if (err) {
        reject(err);
      } else {
        resolve(web3.utils.fromWei(result, "ether"));
      }
    });
  });
};
Override Login page
We need to override the Refine login page. In this way, we will redirect it to the Metamask Wallet login page. We create a login.tsx file in the /pages folder.
Show Code
import { Layout, Button, Space, Typography } from "antd";
import { ThemedTitleV2 } from "@refinedev/antd";
import { useLogin } from "@refinedev/core";

export const Login: React.FC = () => {
  const { mutate: login, isLoading } = useLogin();

  return (
    <Layout
      style={{
        height: "100vh",
        justifyContent: "center",
        alignItems: "center",
      }}
    >
      <Space direction="vertical" align="center" size="large">
        <ThemedTitleV2
          collapsed={false}
          wrapperStyles={{
            fontSize: "22px",
          }}
        />
        <Button
          type="primary"
          size="middle"
          loading={isLoading}
          onClick={() => login({})}
        >
          Sign in with Ethereum
        </Button>
        <Typography.Text type="secondary">Powered by Auth0</Typography.Text>
      </Space>
    </Layout>
  );
};

Create Dashboard
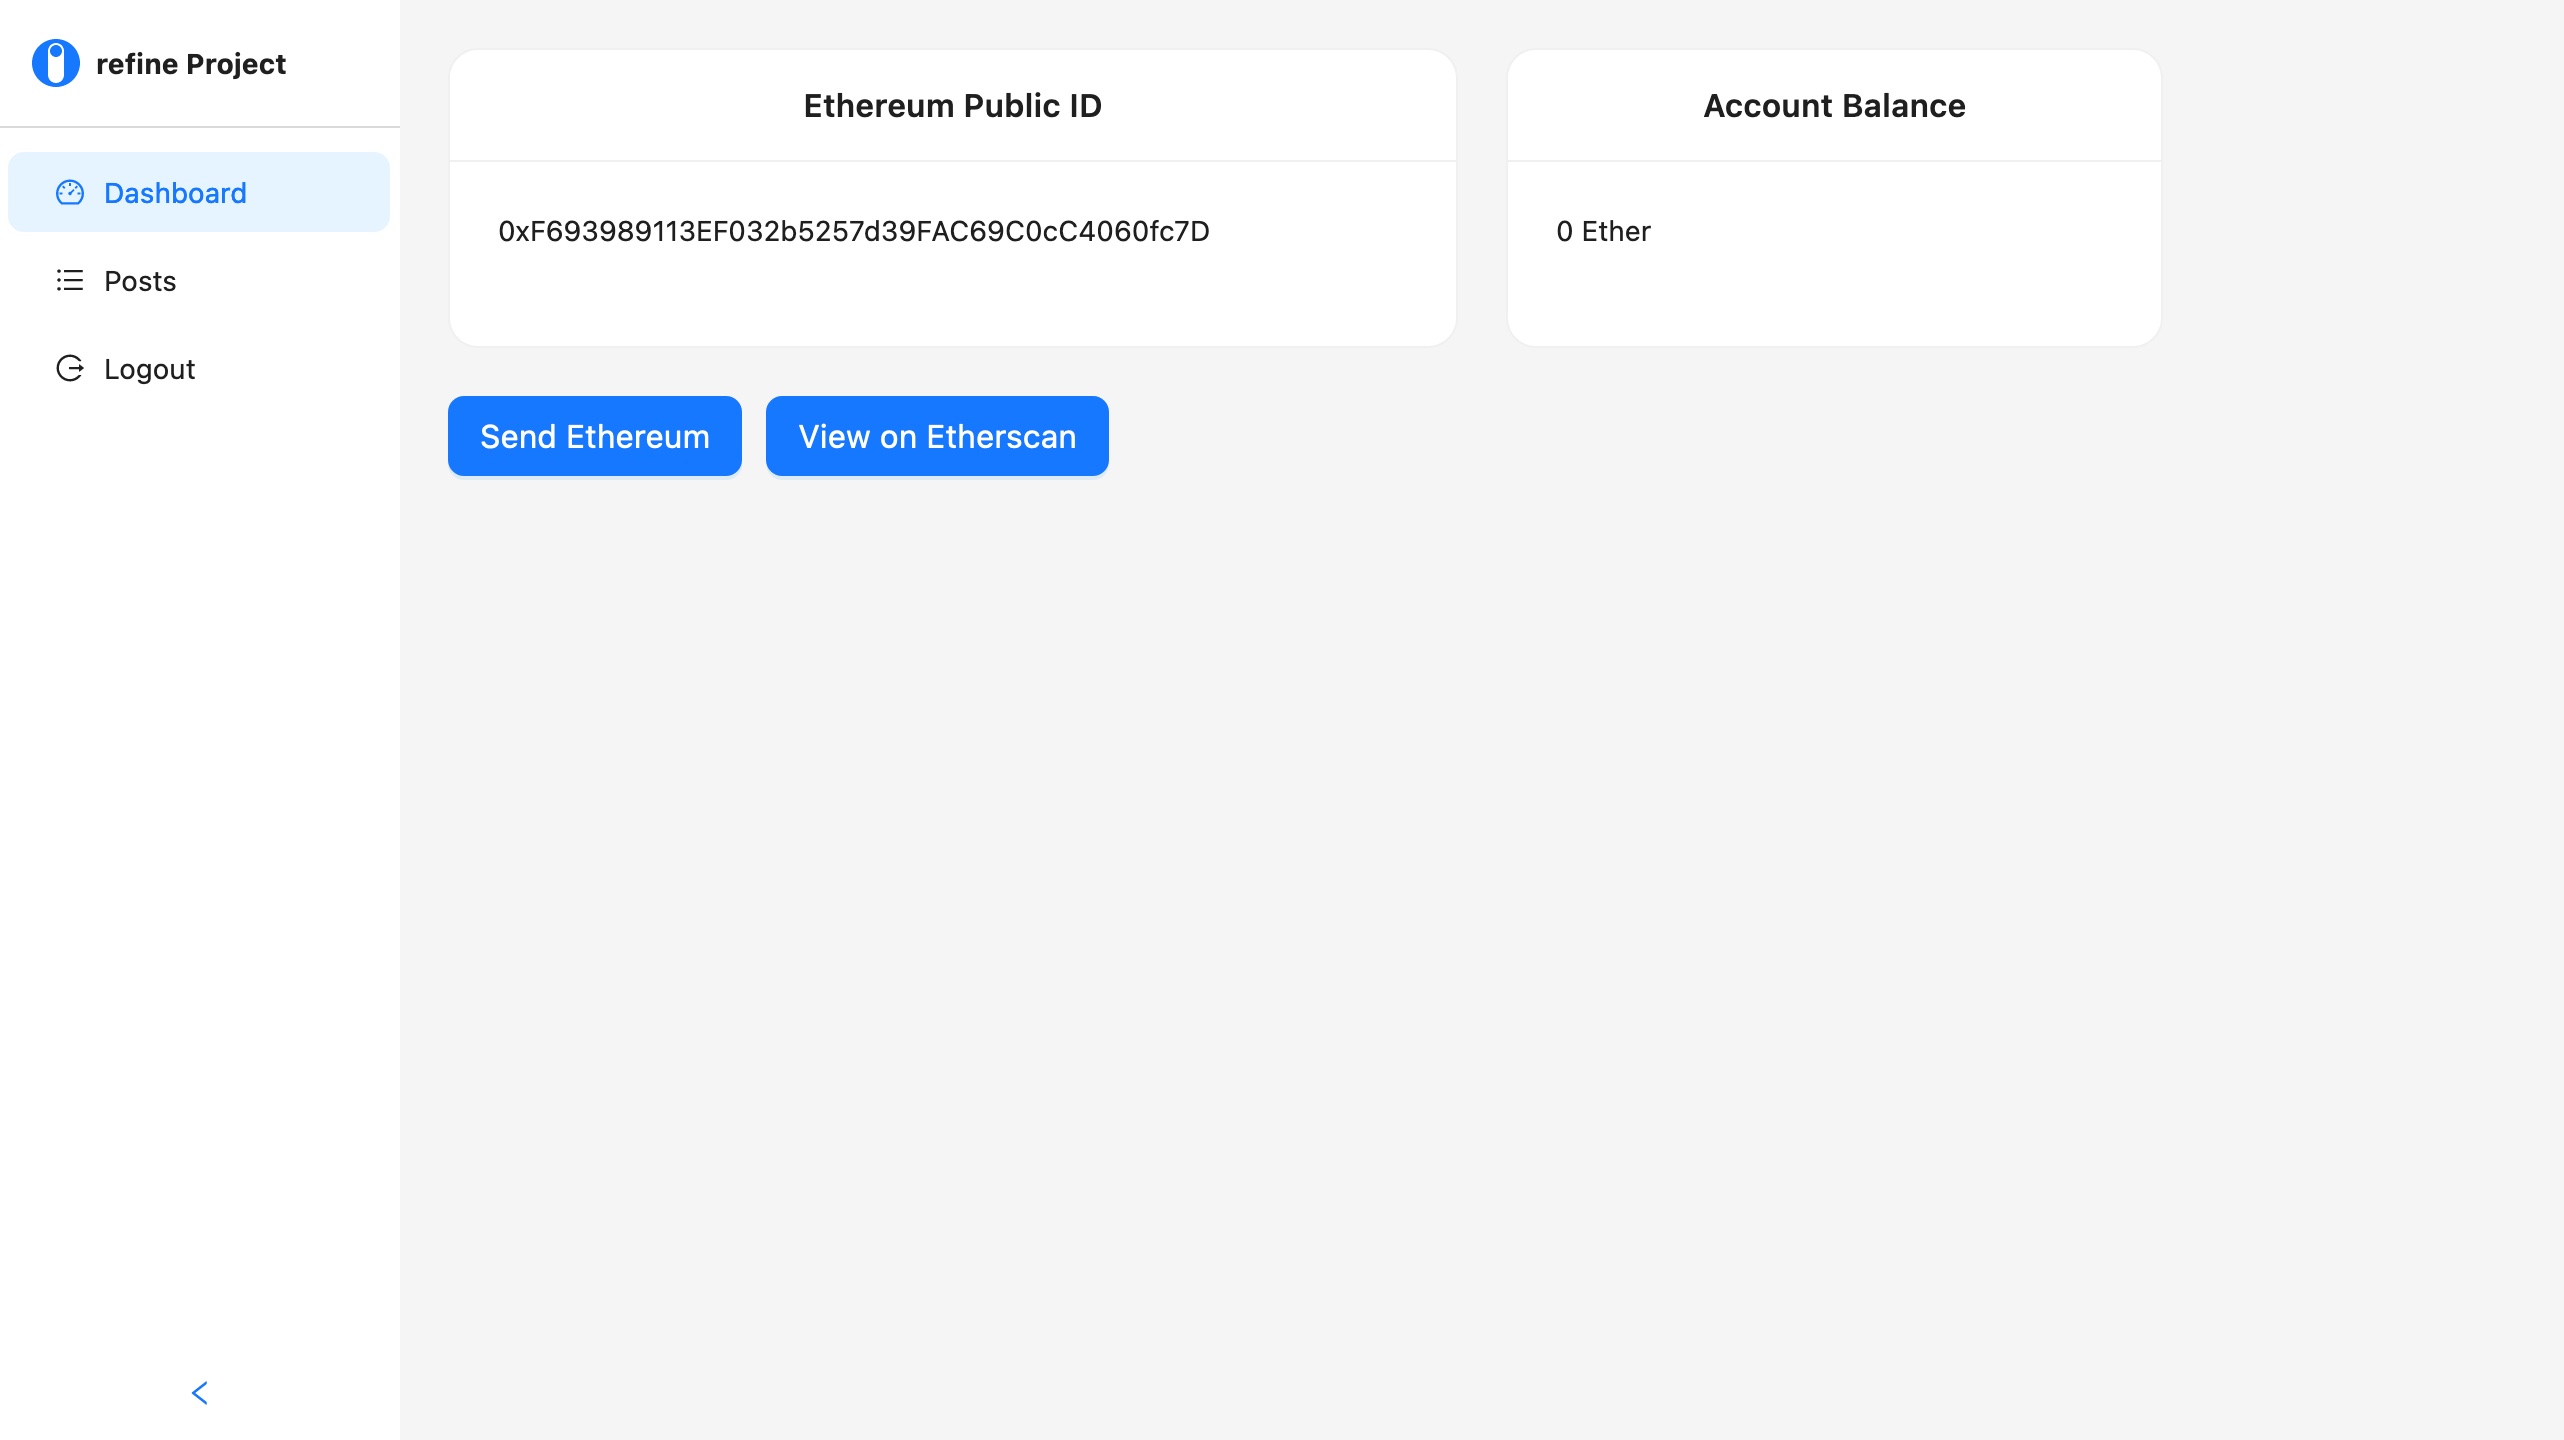
After connecting with our account, we can now retrieve account information. We will display this information on the dashboard of the Refine.
Show Code
import React from "react";
import { useGetIdentity } from "@refinedev/core";
import { useModal } from "@refinedev/antd";
import {
  Row,
  Col,
  Card,
  Typography,
  Space,
  Button,
  Modal,
  Form,
  Input,
} from "antd";

const { Text } = Typography;

export const DashboardPage: React.FC = () => {
  const { data, isLoading } = useGetIdentity<{
    address: string;
    balance: string;
  }>();

  return (
    <Row gutter={24}>
      <Col span={12}>
        <Card
          title="Ethereum Public ID"
          style={{ height: "150px", borderRadius: "15px" }}
          headStyle={{ textAlign: "center" }}
        >
          <Space align="center" direction="horizontal">
            <Text>{isLoading ? "loading" : data?.address}</Text>
          </Space>
        </Card>
      </Col>
      <Col span={8}>
        <Card
          title="Account Balance"
          style={{ height: "150px", borderRadius: "15px" }}
          headStyle={{ textAlign: "center" }}
        >
          <Text>{`${isLoading ? "loading" : data?.balance} Ether`}</Text>
        </Card>
      </Col>
    </Row>
  );
};

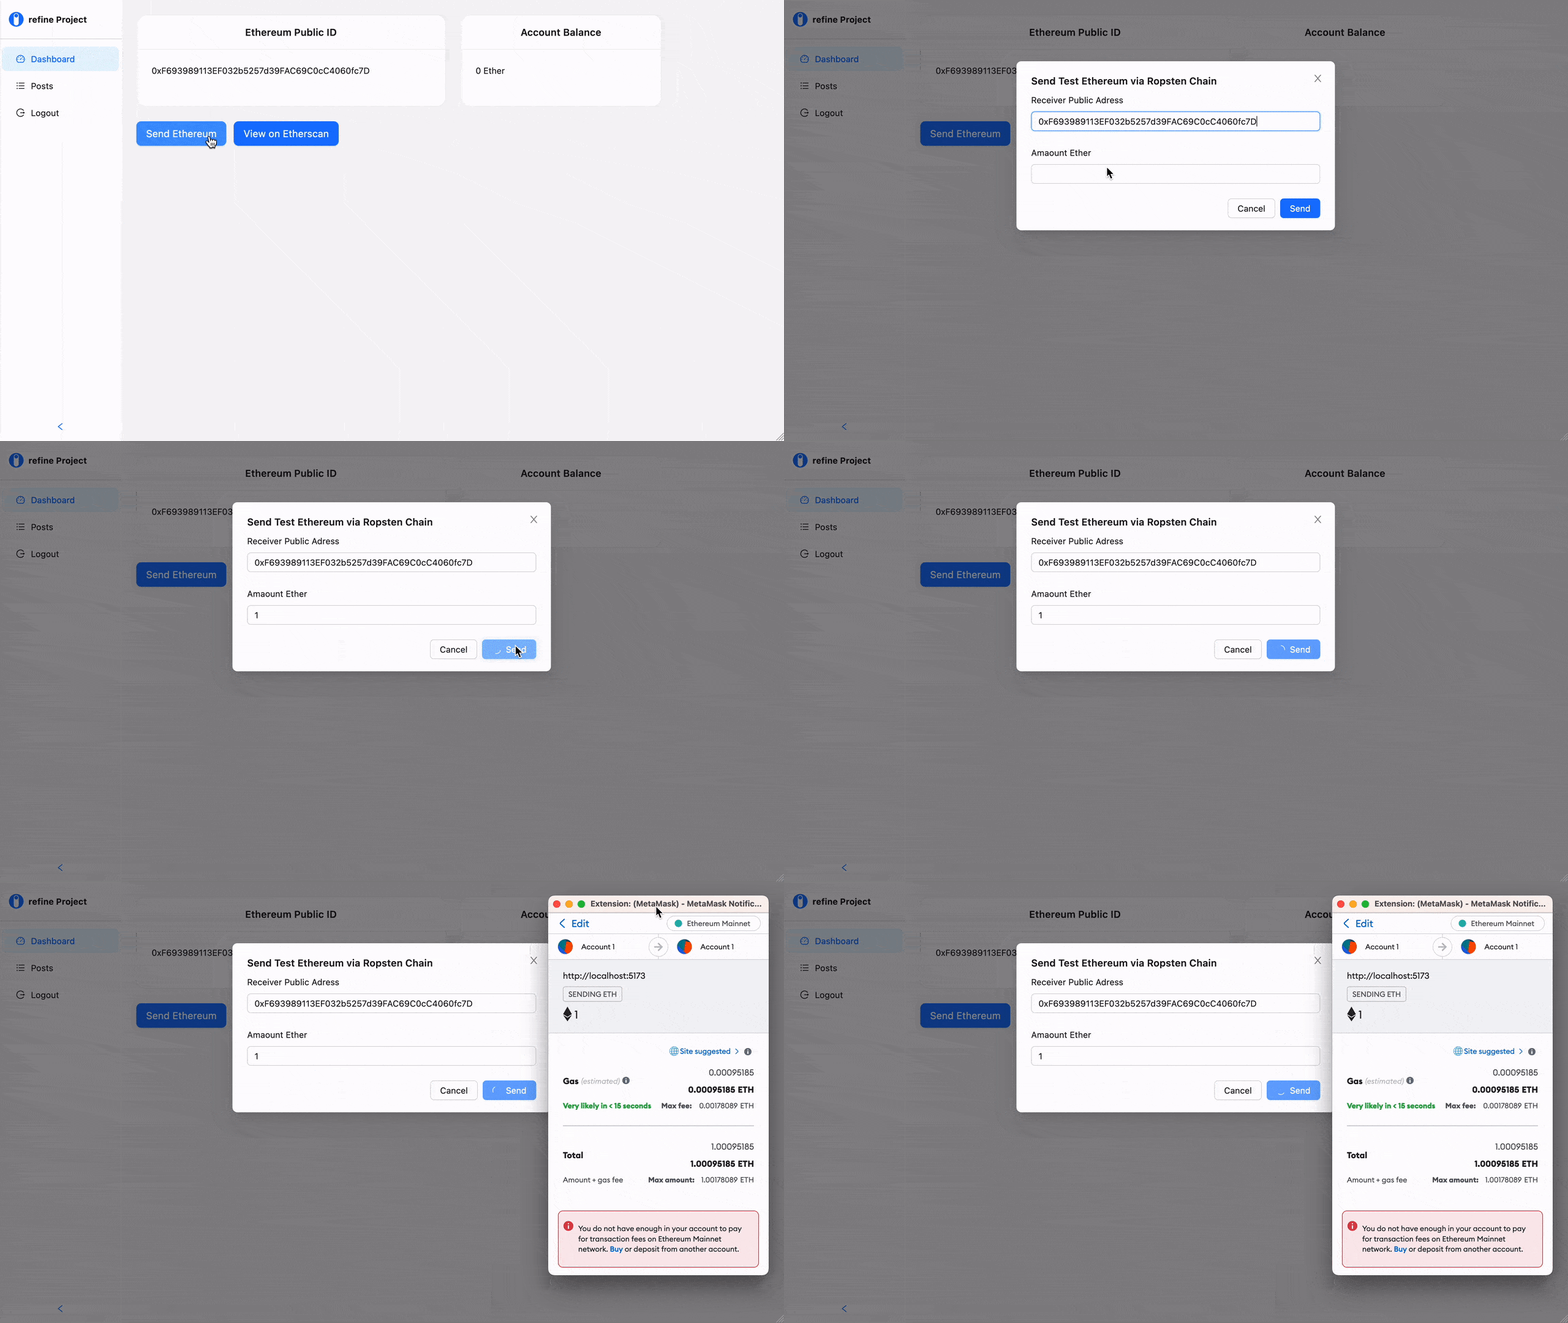
Now lets customize Refine dashboard. Send your test ethereum via Refine dashboard and Metamask.
Send Test Ethereum with Refine Dashboard
Here we use the sendTransaction function to send ethereum with your browser-enabled web3 wallet.
export const sendEthereum = async (
  sender: string,
  receiver: string,
  amount: string,
) => {
  try {
    const params = {
      from: sender,
      to: receiver,
      value: web3.utils.toHex(web3.utils.toWei(amount, "ether")),
      gas: 39000,
    };
    await window.ethereum.enable();
    return await web3.eth.sendTransaction(params);
  } catch (error) {
    new Error("Something went wrong!");
  }
};
Show Code
import React, { useState } from "react";
import { useGetIdentity } from "@refinedev/core";
import { useModal } from "@refinedev/antd";
import {
  Row,
  Col,
  Card,
  Typography,
  Space,
  Button,
  Modal,
  Form,
  Input,
  notification,
} from "antd";

import { sendEthereum } from "../utility";

const { Text } = Typography;

export const DashboardPage: React.FC = () => {
  const { data, isLoading } = useGetIdentity<{
    address: string;
    balance: string;
  }>();
  const { modalProps, show, close } = useModal();
  const [form] = Form.useForm();
  const [loading, setLoading] = useState(false);

  const handleModal = async (values: any) => {
    setLoading(true);
    const tx: any | undefined = await sendEthereum(
      data?.address!!,
      values.receiver,
      values.amount,
    );
    const status = tx ? tx.status : undefined;
    setLoading(false);

    if (status) {
      close();
      notification["success"]({
        message: "Transaction Success",
        description: "Transaction successful you can check on Etherscan.io",
      });
    } else {
      notification["warning"]({
        message: "Transaction Failed",
        description: "Transaction failed try again",
      });
    }
  };

  return (
    <>
      <Row gutter={24}>
        <Col span={12}>
          <Card
            title="Ethereum Public ID"
            style={{ height: "150px", borderRadius: "15px" }}
            headStyle={{ textAlign: "center" }}
          >
            <Space align="center" direction="horizontal">
              <Text>{isLoading ? "loading" : data?.address}</Text>
            </Space>
          </Card>
        </Col>
        <Col span={8}>
          <Card
            title="Account Balance"
            style={{ height: "150px", borderRadius: "15px" }}
            headStyle={{ textAlign: "center" }}
          >
            <Text>{`${isLoading ? "loading" : data?.balance} Ether`}</Text>
          </Card>
        </Col>
        <Col span={12}>
          <Button
            style={{ maxWidth: 300, marginTop: 24 }}
            type="primary"
            size="large"
            onClick={() => show()}
          >
            Send Ethereum
          </Button>
          <Button
            style={{ maxWidth: 300, marginTop: 24, marginLeft: 12 }}
            type="primary"
            size="large"
            href={`https://ropsten.etherscan.io/address/${data?.address}`}
          >
            View on Etherscan
          </Button>
        </Col>
      </Row>
      <Modal
        {...modalProps}
        okText={"Send"}
        title={"Send Test Ethereum via Ropsten Chain"}
        onOk={form.submit}
        okButtonProps={{ loading: loading }}
      >
        <Form layout="vertical" onFinish={handleModal} form={form}>
          <Form.Item name="receiver" label="Receiver Public Address">
            <Input />
          </Form.Item>
          <Form.Item name="amount" label="Amaount Ether">
            <Input />
          </Form.Item>
        </Form>
      </Modal>
    </>
  );
};

We can now request to send ethereum through our Refine dashboard and also view your account details on Etherscan Ropsten Test Network

Example
npm create refine-app@latest -- --example with-web3